
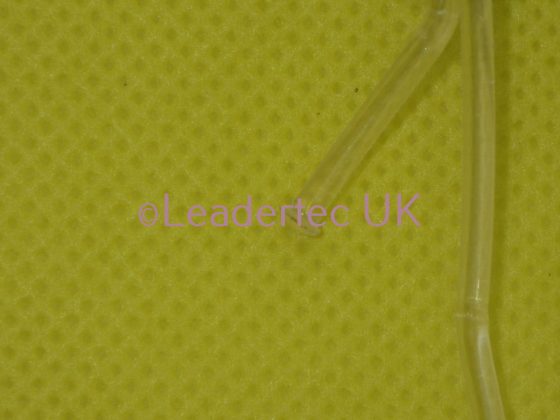
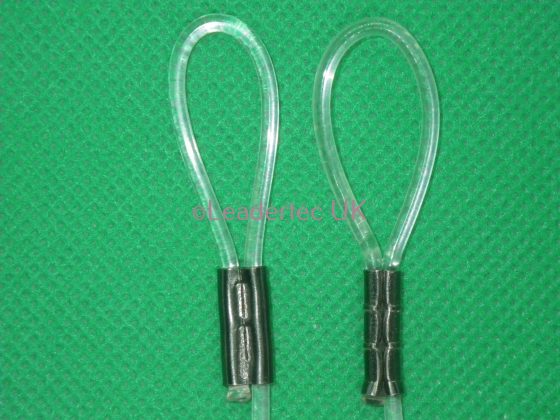
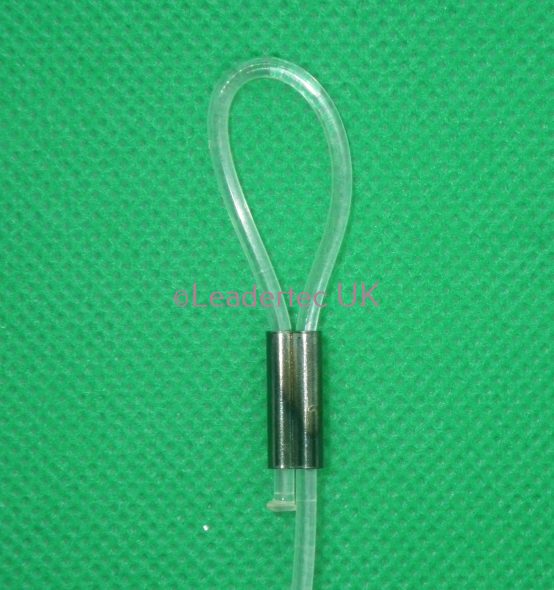
Right correct - note the uncompressed centre sections and the flared ends of the sleeve.

-
 FISHING CRIMPS & CRIMP SLEEVES
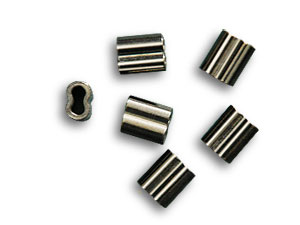
PRO RIGGER BRASS HEAVY DUTY ROUND CRIMPS
£2.95 – £9.50 Incl. UK VAT (VAT Free outside UK) Select options -
 ATTRACTORS & RATTLES
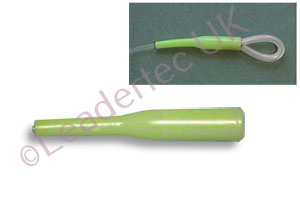
PRO RIGGER CRIMP PROTECTOR
£2.40 – £2.95 Incl. UK VAT (VAT Free outside UK) Select options -
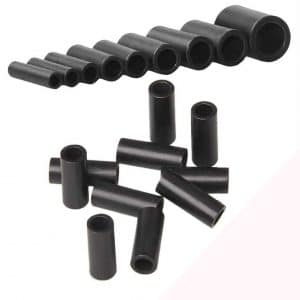
 FISHING CRIMPS & CRIMP SLEEVES
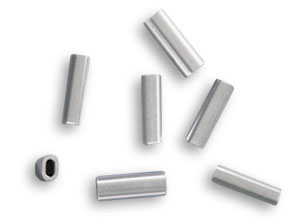
PRO RIGGER ALUMINIUM OVAL CRIMP SLEEVES
£3.50 – £6.95 Incl. UK VAT (VAT Free outside UK) Select options

")